Kia Rio: Interior Trim / Rear Wheel House Trim
Components and components location
| Component Location |
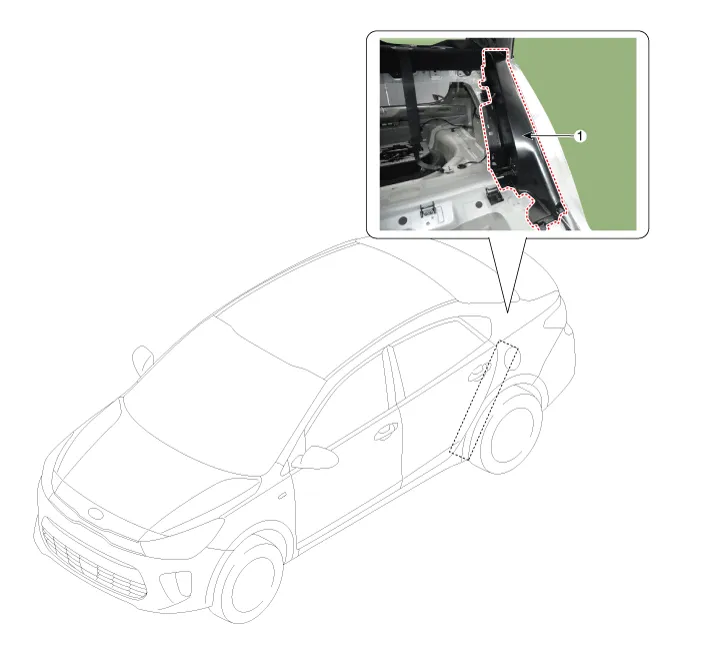
| 1. Rear wheel house trim |
Repair procedures
| Replacement |
Put on gloves to protect your hands. |

|

| 1. |
Remove the rear seat assembly. (Refer to Rear Seat - "Rear Seat Assembly") |
| 2. |
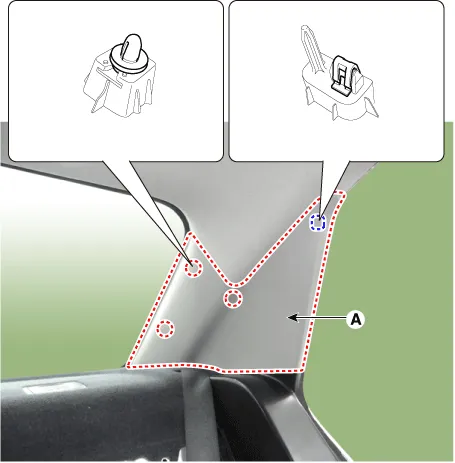
Remove the rear pillar trim (A) by using a remover.
|
| 3. |
Remove the rear door scuff trim.
|
| 4. |
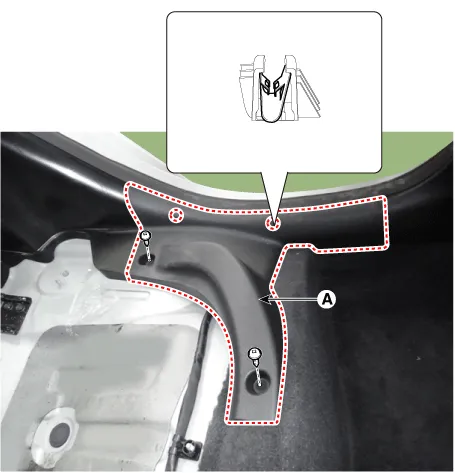
Remove the rear partition trim (A) after looseing the mountin screw.
|

| 5. |
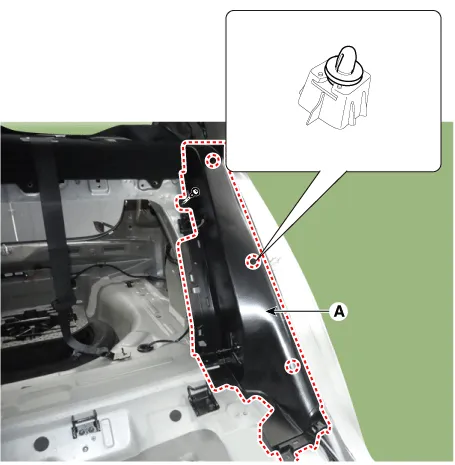
Remove the rear wheel house trim (A) after looseing the mountin screw.
|
| 6. |
Install in the reverse order of removal.
|
Components and components location Component Location [5 Door] 1. Rear pillar trim [4 Door] 1.
Components and components location Component Location 1. Package tray trim Repair procedures Replacement Put on gloves to protect your hands.
Other information:
Kia Rio 2017-2023 YB Service Manual: Turn Signal Lamp
Repair procedures Removal Door Mirror Turn Signal Lamp 1. Disconnect the negative (-) battery terminal. 2. Remove the mirror (A) from the mirror holder. Be careful not to damag
Kia Rio 2017-2023 YB Service Manual: Receiver-Drier
Repair procedures Replacement 1. Remove the condenser. 2. Remove the cap (B) on the bottom of the condenser with L wrench (A). Tightening torque : 2.7~3.2 N.m (0.28~0.
Categories
- Manuals Home
- Kia Rio Owners Manual
- Kia Rio Service Manual
- Cooling System
- Filler-Neck Assembly
- Engine Mechanical System
- New on site
- Most important about car
