
Kia Rio: Interior Trim / Rear Package Tray Trim
Components and components location
| Component Location |
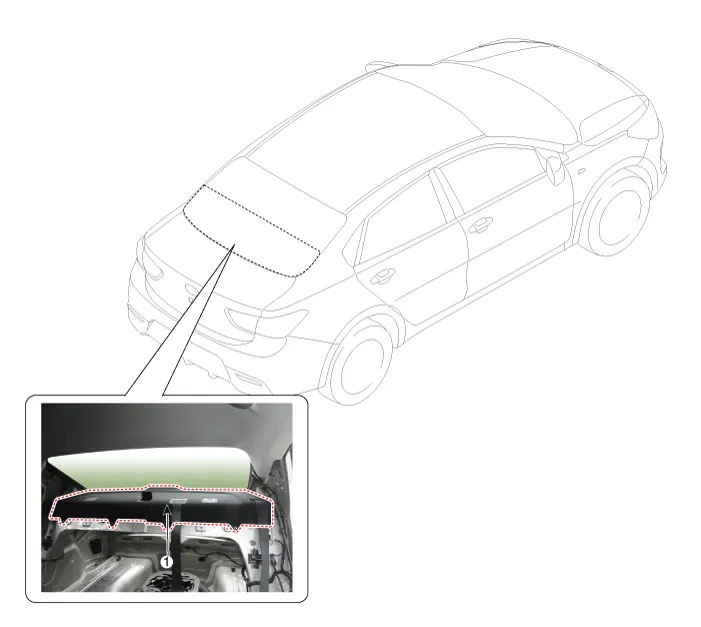
| 1. Package tray trim |
Repair procedures
| Replacement |
Put on gloves to protect your hands. |

|

| 1. |
Remove the rear seat assembly. (Refer to Rear Seat - "Rear Seat Assembly") |
| 2. |
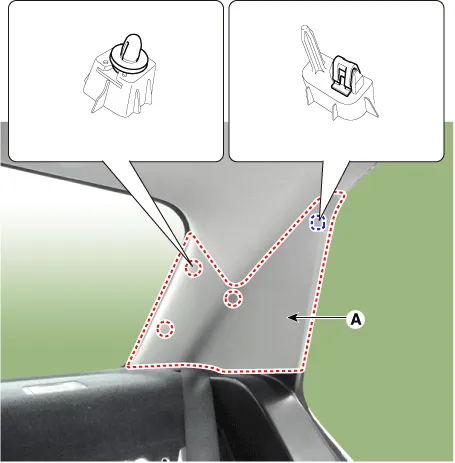
Remove the rear pillar trim (A) by using a remover.
|
| 3. |
Remove the rear door scuff trim.
|
| 4. |
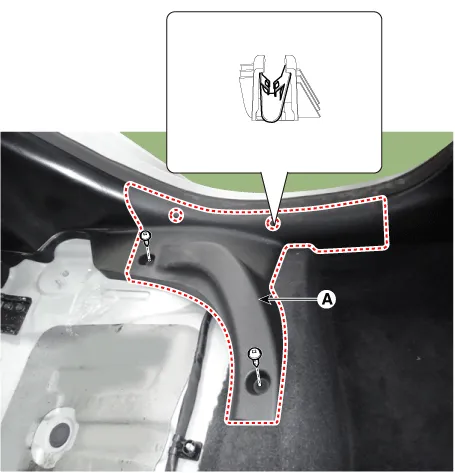
Remove the rear partition trim (A) after looseing the mountin screw.
|
| 5. |
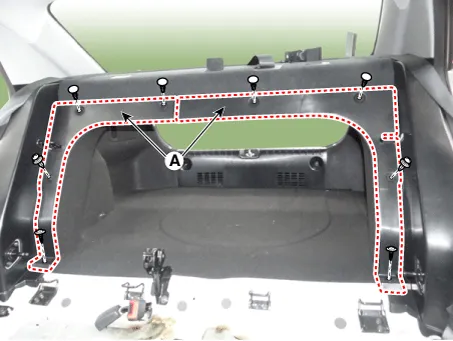
Remove the rear wheel house trim (A) after looseing the mountin screw.
|
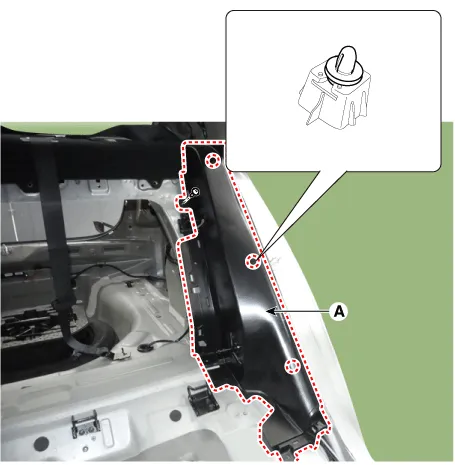
| 6. |
Remove the rear center seat belt cover (A).
|
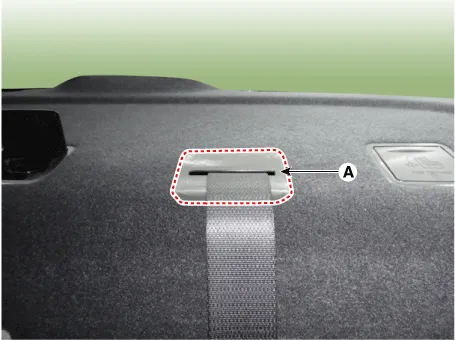
| 7. |
Remove the rear package tray trim (A).
|
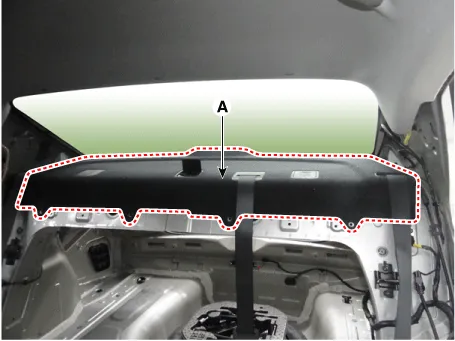
| 8. |
Install in the reverse order of removal.
|
Components and components location Component Location 1. Rear wheel house trim Repair procedures Replacement Put on gloves to protect your hands.
Other information:
Kia Rio 2017-2023 YB Service Manual: License Lamps
Repair procedures Removal 1. Disconnect the negative (-) battery terminal. 2. Remove the license lamp assembly (A) after pressing the locking pin. 3. Disconnect the license lamp connector (A).
Kia Rio 2017-2023 YB Service Manual: Rear Washer Switch
Repair procedures Inspection Multifunction Switch Inspection [BCM Type] 1. Check for continuity between the terminals in each switch position as shown below. [Left Handle Drive] Switch Switch position Switch terminal
Categories
- Manuals Home
- Kia Rio Owners Manual
- Kia Rio Service Manual
- Maintenance
- Motor Driven Power Steering
- Engine Electrical System
- New on site
- Most important about car
