Kia Rio: Gauges / Odometer, Outside Temperature Gauge
Odometer
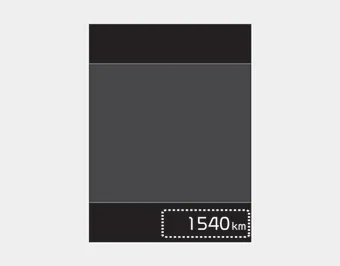
The odometer indicates the total distance the vehicle has been driven.
You will also find the odometer useful to determine when periodic maintenance should be performed.
- Odometer range :
0 ~ 1,599,999 km or 0 ~ 999,999 miles.
Outside Temperature Gauge
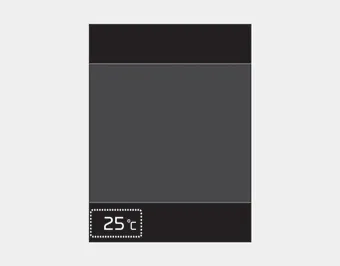
This gauge indicates the current outside air temperatures by 1°C (1°F).
Temperature range :
- Type A Cluster : - 40°C ~ 85°C (- 40°F ~ 199°F)
- Type B Cluster : - 40°C ~ 85°C (- 40°F ~ 211°F)
The outside temperature on the display may not change immediately like a general thermometer to prevent the driver from being inattentive.
To change the temperature unit (from °C to °F or from °F to °C)
• Type A Cluster
Press the TRIP button for 5 seconds and more.
• Type B Cluster
The temperature unit can be changed by using the “User Settings” mode of the LCD Windows.
❈ For more details, refer to “LCD Windows” in this chapter.
Engine coolant temperature gauge This gauge shows the temperature of the engine coolant when the ignition switch is ON. If the gauge pointer moves beyond the normal range area toward the “H” position, it indicates overheating that may damage the engine.
Intelligent Variable Transmission (if equipped) This indicator displays which intelligent variable transmission shift lever is selected. Park :P Reverse : R Neutral : N Drive :D Manual Mode : 1, 2, 3, 4, 5, 6, 7, 8 Manual Transmission shift indicator This indicator informs which gear is desired while driving to save fuel.
Other information:
Kia Rio 2017-2023 YB Service Manual: Rear Combination Lamp
Repair procedures Removal Rear Combination Lamp (Outside) 1. Disconnect the negative (-) battery terminal. 2. Remove the rear combination lamp (A) after loosening the mounting screws. 3.
Kia Rio 2017-2023 YB Service Manual: Rear Washer Motor
Repair procedures Inspection 1. With the washer motor connected to the reservoir tank, fill the reservoir tank with water. Before filling the reservoir tank with water, check the filter for foreign material or conta
Categories
- Manuals Home
- Kia Rio Owners Manual
- Kia Rio Service Manual
- Engine Control / Fuel System
- Engine Electrical System
- General Information
- New on site
- Most important about car
