Kia Rio: Sunroof / Sunroof Assembly
Components and components location
| Components |
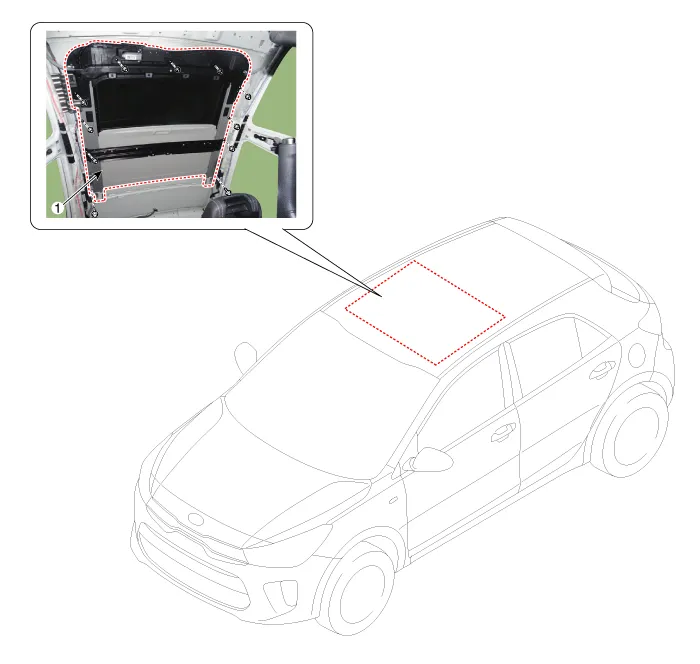
| 1. Sunroof assembly |
Repair procedures
| Replacement |
|

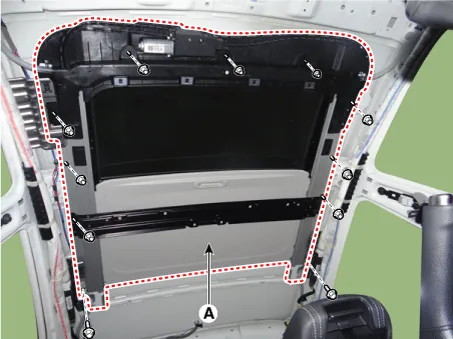
| 1. |
Remove the roof trim. (Refer to Roof Trim - "Roof Trim Assembly") |
| 2. |
Remove the sunroof glass. (Refer to Sunroof - "Sunroof Glass") |
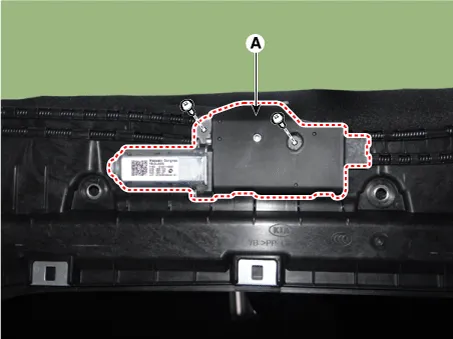
| 3. |
Loosen the mounting screws and remove the sunroof motor (A).
|
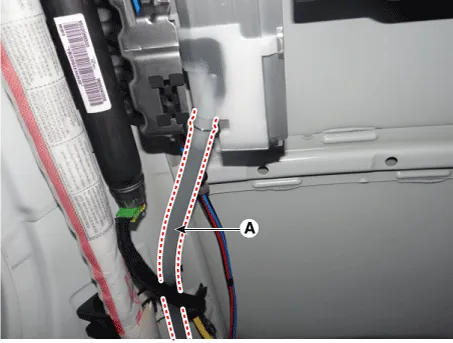
| 4. |
Remove the drain hose (A).
|
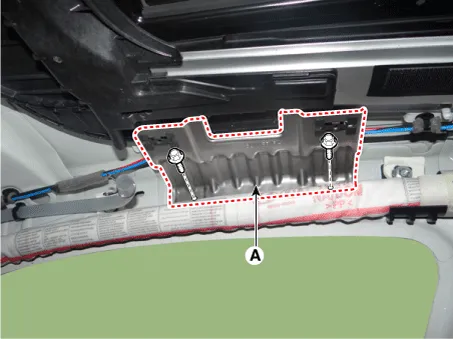
| 5. |
Remove the front assist handle bracket (A) after loosening the mounting bolts.
|
| 6. |
Remove the sunroof assembly (A) after loosening the nuts and bolts.
|
| 7. |
Install in the reverse order of removal.
|
Repair procedures Replacement 1. Open the glass fully. 2. Remove the mounting pins (B), and then remove the deflector (A).
Repair procedures Replacement 1. Remove the sunroof assembly. (Refer to Sunroof - "Sunroof Assembly") 2.
Other information:
Kia Rio 2017-2023 YB Service Manual: Lighting System
Specifications Specification Item Type Bulb Watt (W) Front Headlamp Halogen Low/High H4 LL 55/60 Turn signal lamp PY21W 21 Position lamp W5W
Kia Rio 2017-2023 YB Service Manual: Rear Wiper/Washer
C
Categories
- Manuals Home
- Kia Rio Owners Manual
- Kia Rio Service Manual
- Timing Chain
- Cooling System
- Heating,Ventilation, Air Conditioning
- New on site
- Most important about car
