
Kia Rio: Motor Driven Power Steering / Steering Gear box
Repair procedures
| Removal and Installation |
| 1. |
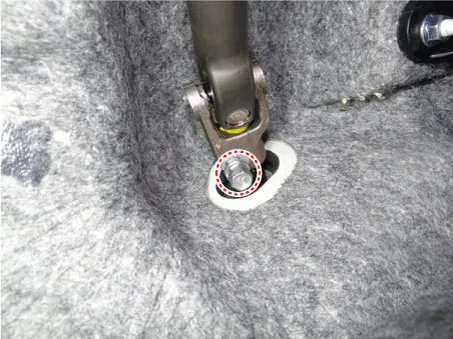
Remove the universal joint bolt.
|

| 2. |
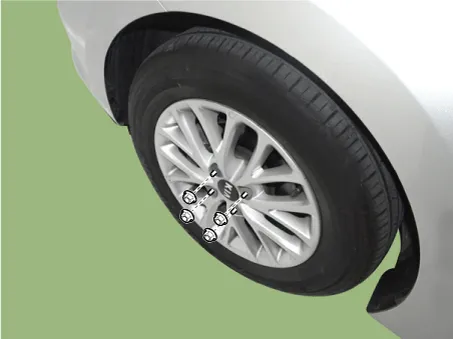
Remove wheel nuts, front wheel and tire from front hub.
|
| 3. |
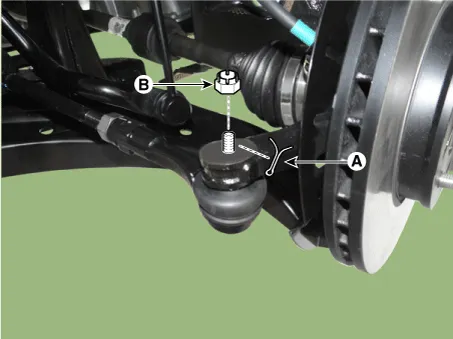
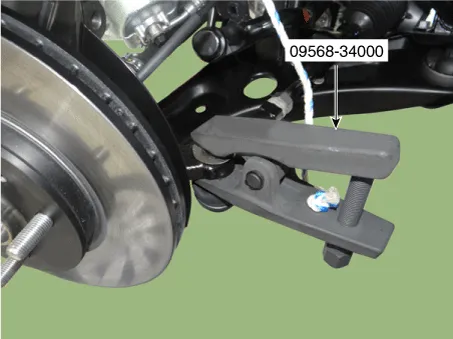
Remove the tie rod end ball joint (C) from the knuckle by using the SST (09568-34000).
|
| 4. |
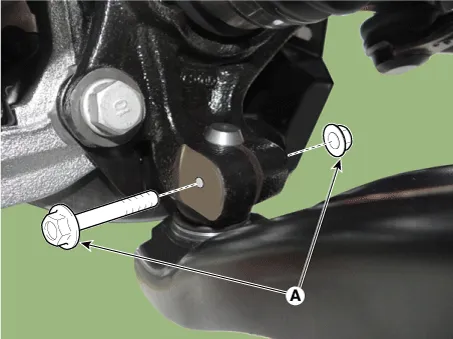
Remove the lower arm bolt and nut (A).
|
| 5. |
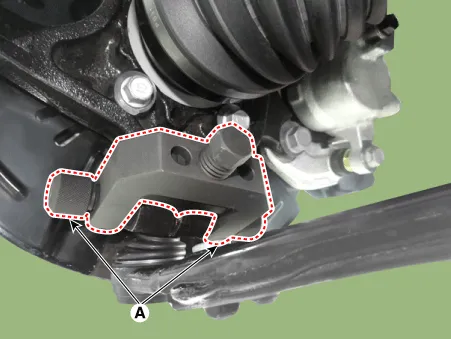
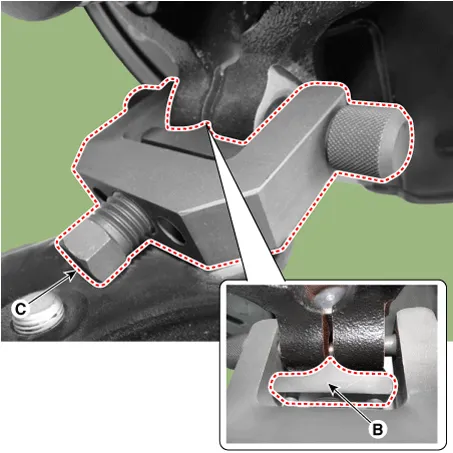
Remove the front lower arm from the front knuckle using the SST (0K545-A9100).
|


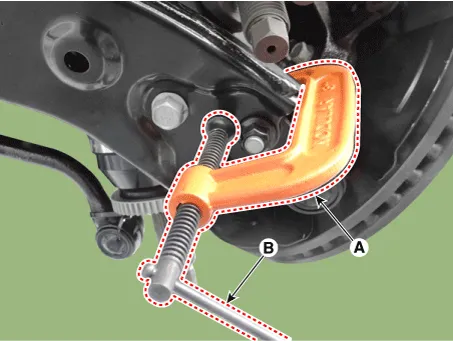

| 6. |
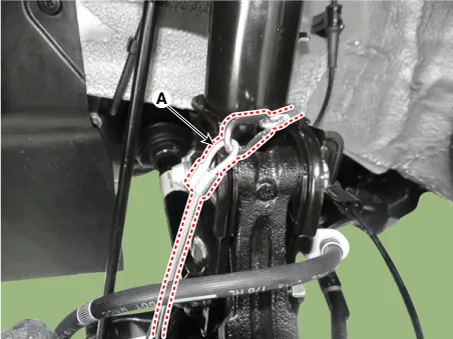
Remove the stabilizer link nut (A).
|
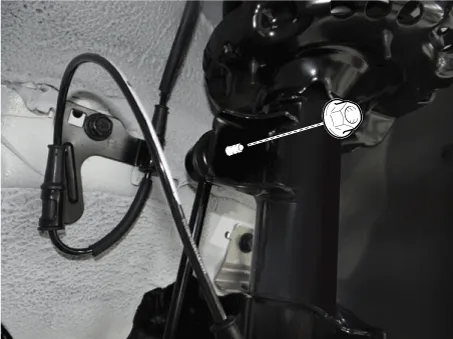

| 7. |
Remove the hanger.
|

| 8. |
Remove the roll rod bracket. D 1.4 U2 TCI (Refer to Engine Mechanical System - "Engine Mounting") G 1.0 T-GDI (Refer to Engine Mechanical System - "Engine Mounting") G 1.2 MPI (Refer to Engine Mechanical System - "Engine Mounting") G 1.4 MPI (Ref er to Engine Mechanical System - "Engine Mounting") |
| 9. |
Loosen the bolts & nuts and then remove the sub frame (A).
|
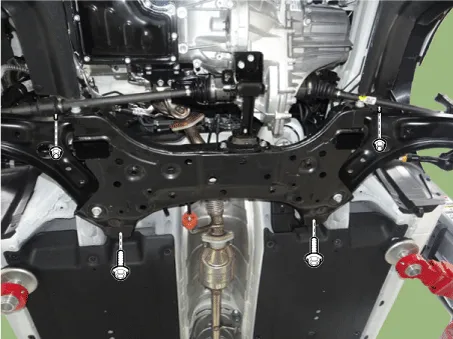
| 10. |
Loosne the heat protector bolts and then remove the heat protector.
|

| 11. |
Loosen the gear box mounting bolts (A) and then remove the gear box.
|
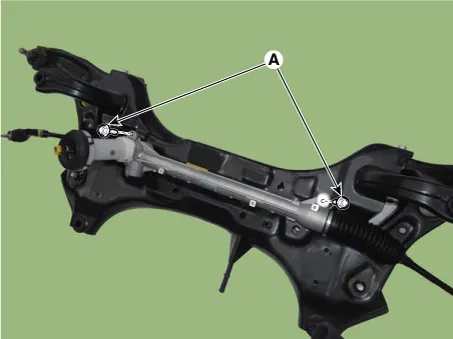
| 12. |
Install in the reverse order of removal. |
| Replacement |
|
Tie rod end
| 1. |
Remove the tie rod end after loosening the nut.
|
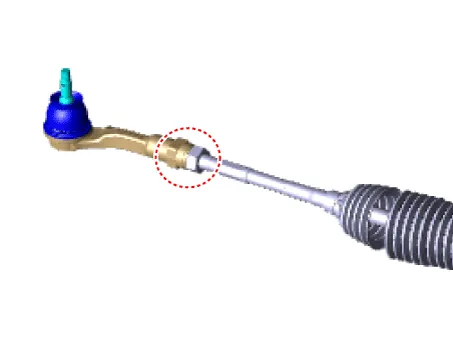
| 2. |
Replace the tie rod end. |
| 3. |
Check the alignment. (Refer to Suspension System - "Front Alignment") |
Repair procedures Removal 1. Disconnect the battery negative cable. 2. Turn the steering wheel so that the front wheels are facing straight ahead.
Components and components location Components 1. Steering wheel 2. Lower cover 3. Bezel 4. Remote switch 5.
Other information:
Kia Rio 2017-2023 YB Service Manual: Temperature Control Actuator
Description and operation Description The heater unit includes mode control actuator and temperature control actuator. The temperature control actuator is located at the heater unit. It regulates the temperature by the procedure as follows.
Kia Rio 2017-2023 YB Service Manual: Mode Control Actuator
Description and operation Description The mode control actuator is located at the heater unit. It adjusts position of mode door by operating mode control actuator based on signal of A/C control unit. Pressing mode select switch makes the mode control actuator shift in order of Vent → Bi-Level → Floor → Mix.
Categories
- Manuals Home
- Kia Rio Owners Manual
- Kia Rio Service Manual
- Motor Driven Power Steering
- Cooling System
- Brake System
- New on site
- Most important about car
