Kia Rio: ear Bumper / Rear Bumper Assembly
Components and components location
| Component Location |
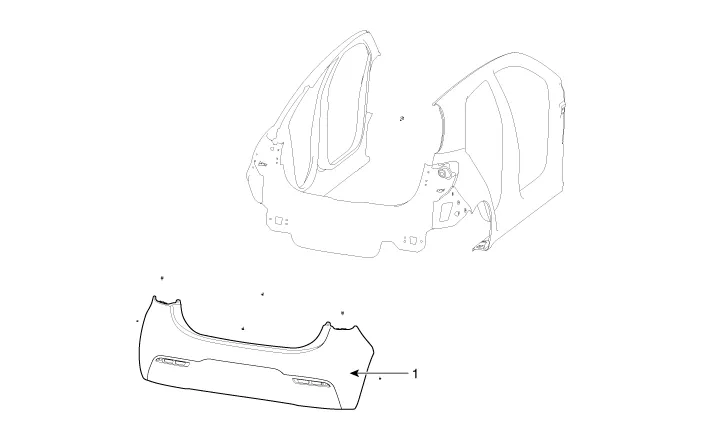
| 1. Rear bumper cover |
Repair procedures
| Replacement |
Put on gloves to protect your hands. |

|

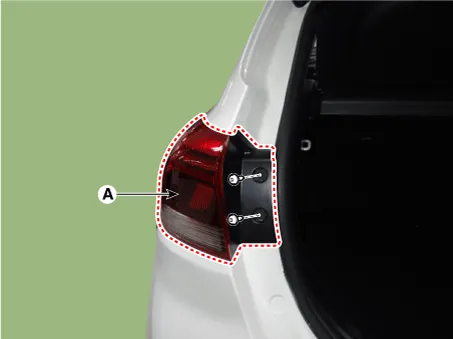
| 1. |
Separate the rear combination lamp (A) after loosening the mounting screws.
|
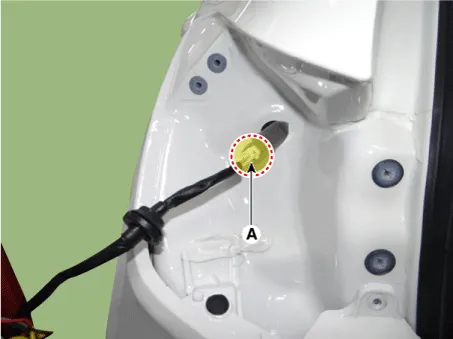
| 2. |
Disconnect the watherproof seal (A).
|
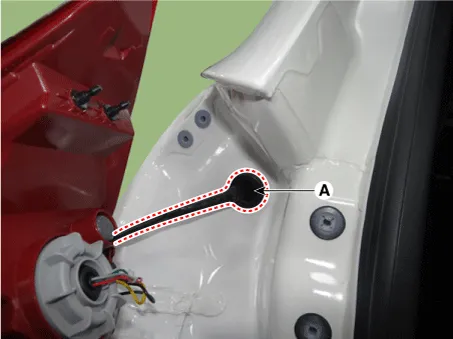
| 3. |
Disconnect the rear combination lamp connector (A).
|
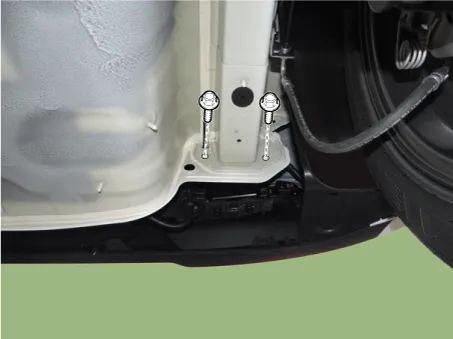
| 4. |
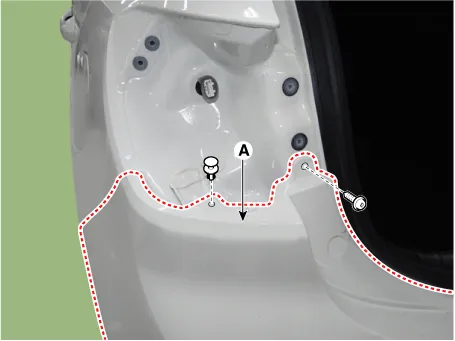
Loosen the rear bumper upper mounting fastener.
|
| 5. |
Remove the rear bumper side under cover after loosening the mounting nuts and clips.
|
| 6. |
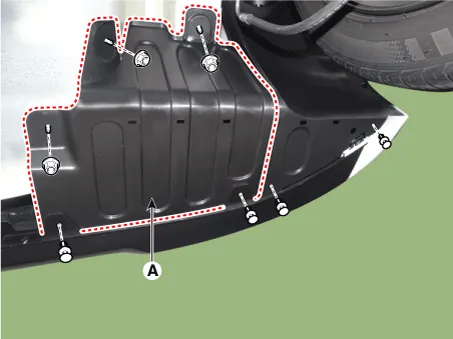
Remove the rear bumper side after loosening the mounting screws.
|
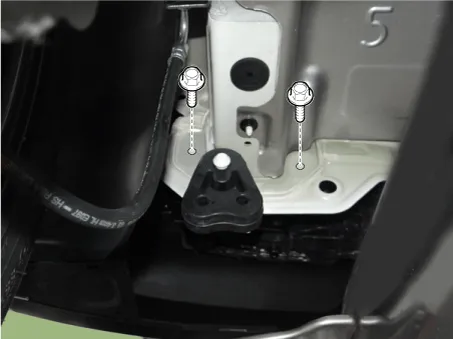
| 7. |
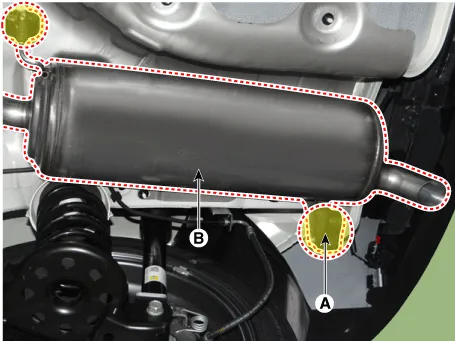
Detach the rubber hangers (A) from the muffler (B).
|
| 8. |
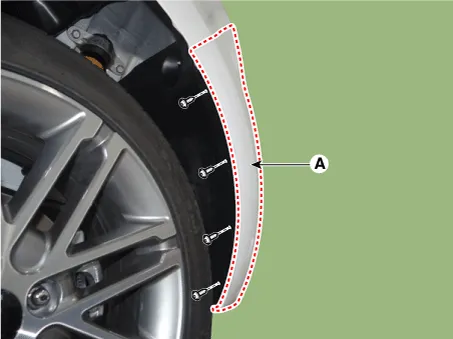
Loosen the mounting bolts. [LH]
[RH]
|
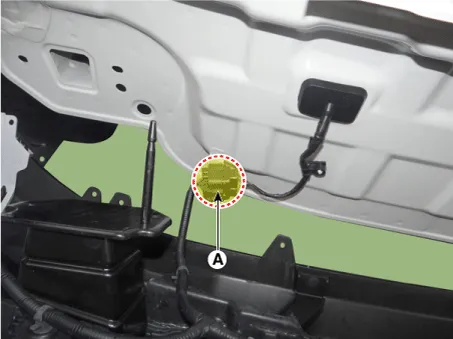
| 9. |
Remove the rear bumper after disconnecting the rear bumper wiring connector (A).
|
| 10. |
Install in the reverse order of removal.
|
Components and components location Components 1. Rear bumper cover assembly 2. Rear bumper side bracket assembly [RH] 3.
Components and components location Component Location 1. Rear bumper beam assembly Repair procedures Replacement Put on gloves to protect your hands.
Other information:
Kia Rio 2017-2023 YB Service Manual: Hazard Lamp Switch
Repair procedures Inspection 1. Check for continuity between terminals. If the continuity is not as specified, replace the hazard lamp switch. No. Description No.
Kia Rio 2017-2023 YB Service Manual: Smart Key
Repair procedures Smart Key Smart Key Code Saving 1. Connect the DLC cable of KDS/GDS to the data link connector (16 pins) in driver side crash pad lower panel, turn the power on KDS/GDS. 2. Select the vehicle model and then do "Smart key code saving".
Categories
- Manuals Home
- Kia Rio Owners Manual
- Kia Rio Service Manual
- Engine Oil and Filter
- Clutch System
- Engine Electrical System
- New on site
- Most important about car
