Kia Rio: Body (Interior and Exterior) / Sunroof
Components and components location
| Components |
| 1. Sunroof sunshade assembly
2. Sunroof glass panel assembly 3. Sunroof guide assembly 4. Sunroof deflector assembly 5. Sunroof sub frame assembly |
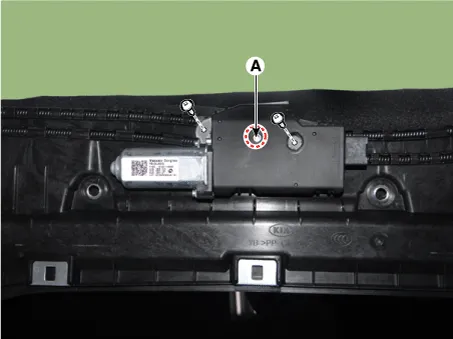
6. Sunroof motor assembly 7. Sunroof drip link 8. Sunroof seal tape 9. Sunroof drip rail |
Repair procedures
| Adjustment |
Inspect Glass Alignment
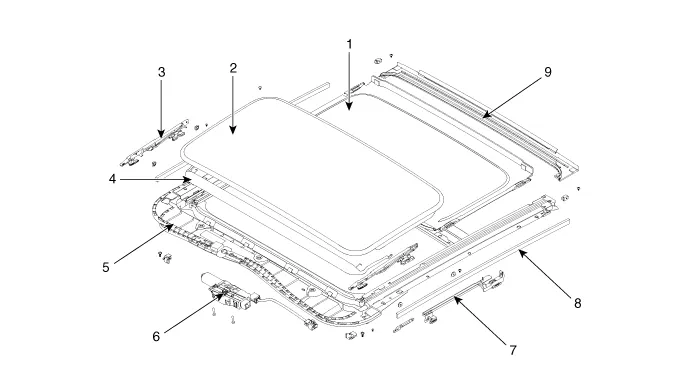
| 1. |
Inspect the step height between the roof panel (A) and the glass weatherstrip (B) and then adjust it if necessary.
|
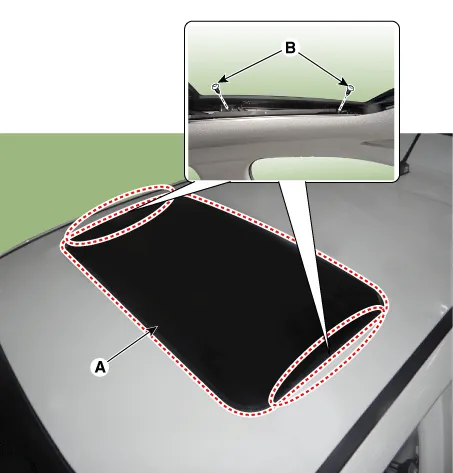
| 2. |
Adjust the height of the glass by slightly loosening the screws (A).
|
When To Initialize The Motor
| 1. |
After initial vehicle assembly. |
| 2. |
If the initial value is erased or damaged because of short power electric discharge during operation. |
| 3. |
After using the manual handle. |
Operating The Sunroof Emergency Handle
| 1. |
Use the sunroof emergency handle to close or open the sunroof manually if the sunroof cannot be closed electronically due to motor or controller electrical malfunction.
|
| 2. |
If needed, initialize the sunroof according to the initialization method. Whenever the vehicle battery is disconnected or discharged, or using the emergency handle to operate the sunroof, the sunroof system needs to be reset as follows:
|
Components and components location Component Location 1. Inside rear view mirror Repair procedures Replacement Put on gloves to protect your hands.
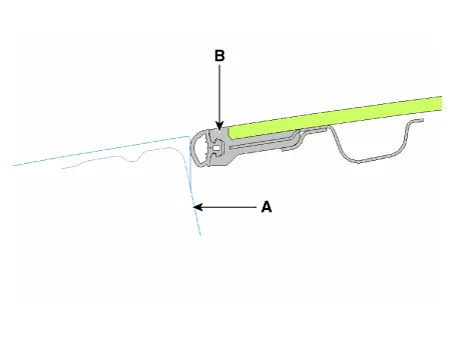
Components and components location Components 1. Sunroof glass Repair procedures Replacement Put on gloves to protect your hands.
Other information:
Kia Rio 2017-2023 YB Service Manual: Rain Sensor
Components and components location Components Schematic diagrams Circuit Diagram Description and operation Description Integrated Rain Sensor Integrated rain sensor (A) controls three systems: front wiper, auto-light, and central air conditioner.
Kia Rio 2017-2023 YB Service Manual: Intake Actuator
Description and operation Description The intake actuator is located at the blower unit. It regulates the intake door by signal from control unit. Pressing the intake selection switch will shift between recirculation and fresh air modes.
Categories
- Manuals Home
- Kia Rio Owners Manual
- Kia Rio Service Manual
- General Information
- Cooling System
- Battery
- New on site
- Most important about car
