Kia Rio: ear Bumper / Rear Bumper Assembly
Components and components location
| Component Location |
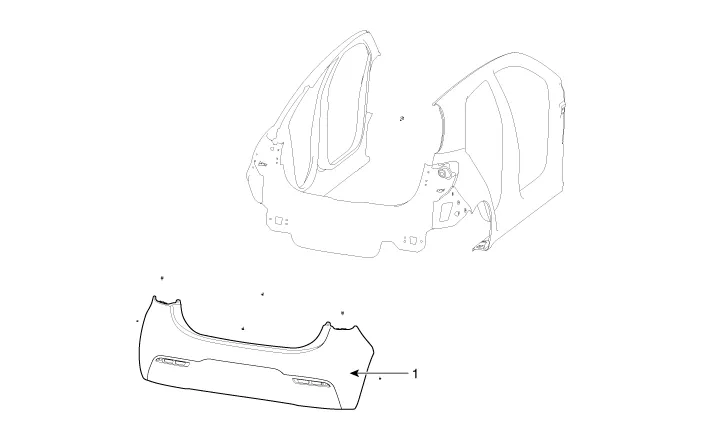
| 1. Rear bumper cover |
Repair procedures
| Replacement |
Put on gloves to protect your hands. |

|

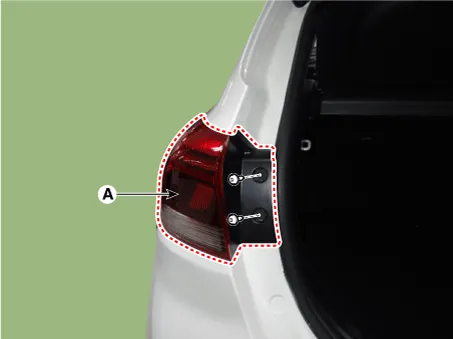
| 1. |
Separate the rear combination lamp (A) after loosening the mounting screws.
|
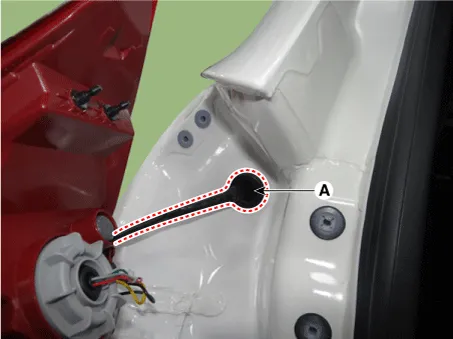
| 2. |
Disconnect the watherproof seal (A).
|
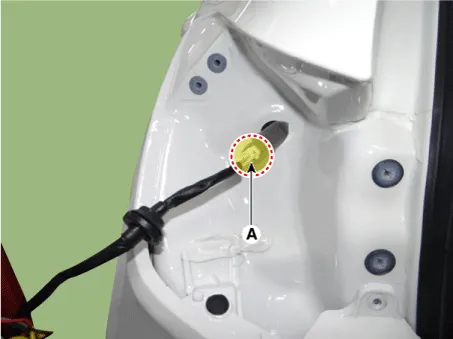
| 3. |
Disconnect the rear combination lamp connector (A).
|
| 4. |
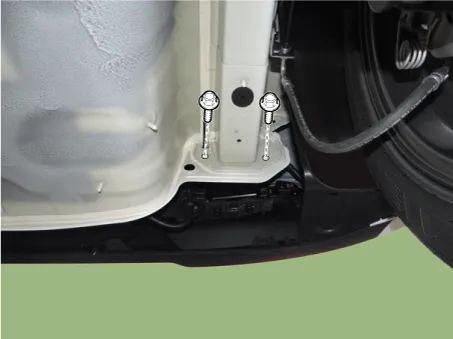
Loosen the rear bumper upper mounting fastener.
|
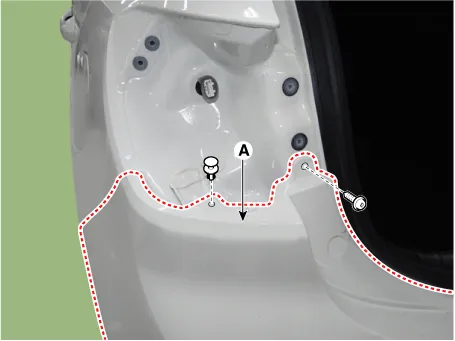
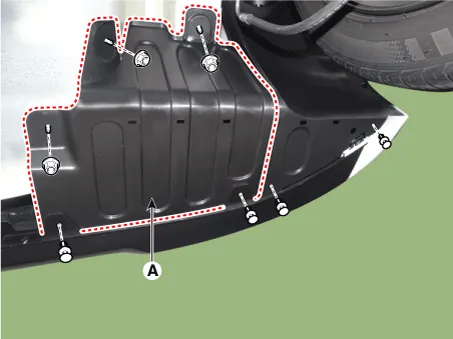
| 5. |
Remove the rear bumper side under cover after loosening the mounting nuts and clips.
|
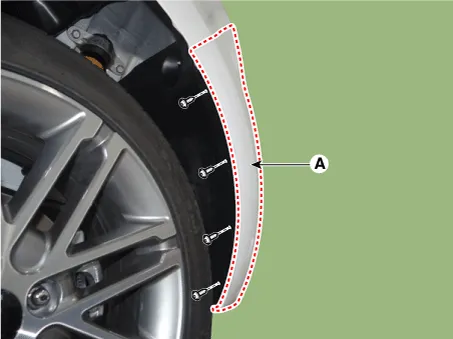
| 6. |
Remove the rear bumper side after loosening the mounting screws.
|
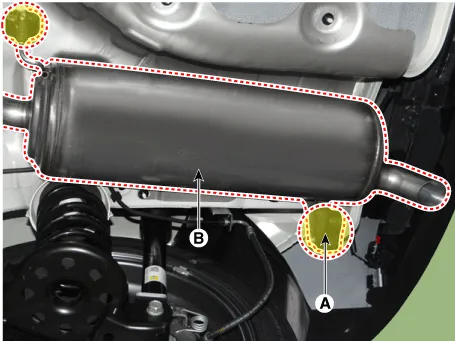
| 7. |
Detach the rubber hangers (A) from the muffler (B).
|
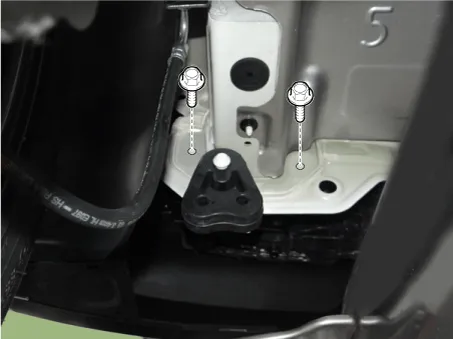
| 8. |
Loosen the mounting bolts. [LH]
[RH]
|
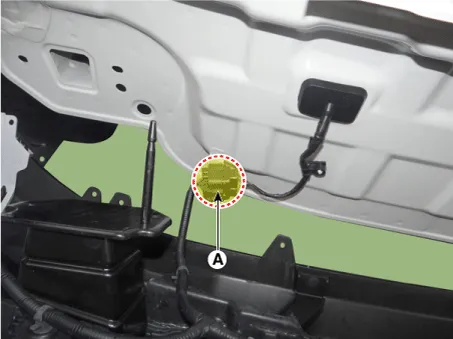
| 9. |
Remove the rear bumper after disconnecting the rear bumper wiring connector (A).
|
| 10. |
Install in the reverse order of removal.
|
Components and components location Components 1. Rear bumper cover assembly 2. Rear bumper side bracket assembly [RH] 3.
Components and components location Component Location 1. Rear bumper beam assembly Repair procedures Replacement Put on gloves to protect your hands.
Other information:
Kia Rio 2017-2023 YB Service Manual: Seat Heater Switch
Components and components location Components 1. Driver side seat heater switch 2. Passenger side seat heater switch Description and operation Description Seat Heater Smart Control Technology • To prevent low temperature burn, seat heater temperature will autom
Kia Rio 2017-2023 YB Service Manual: Refrigerant line
Repair procedures Replacement 1. Discharge refrigerant from refrigeration system. 2. Replace faulty tube or hose. Cap the open fittings immediately to keep moisture or dirt out of the system.
Categories
- Manuals Home
- Kia Rio Owners Manual
- Kia Rio Service Manual
- Engine Electrical System
- Motor Driven Power Steering
- Brake System
- New on site
- Most important about car
