Kia Rio: Driveshaft Assembly / Front Driveshaft
Components and components location
| Components Location |
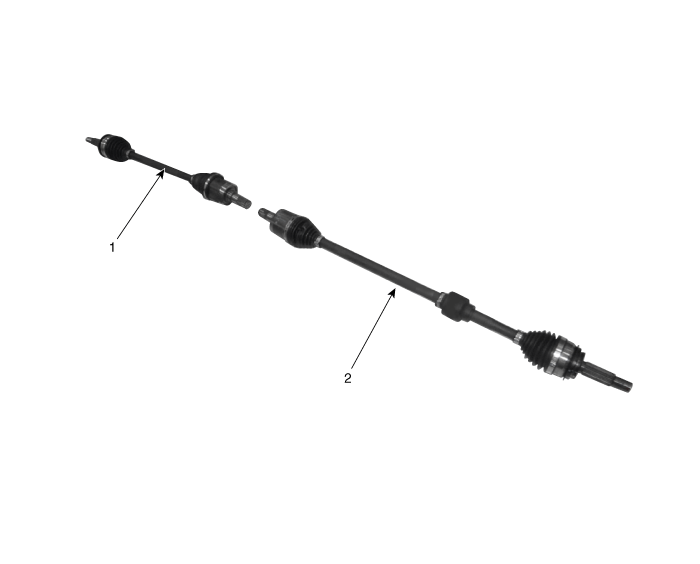
| 1. Drive shasft (LH) |
2. Drive shaft (RH) |
| [RH] |
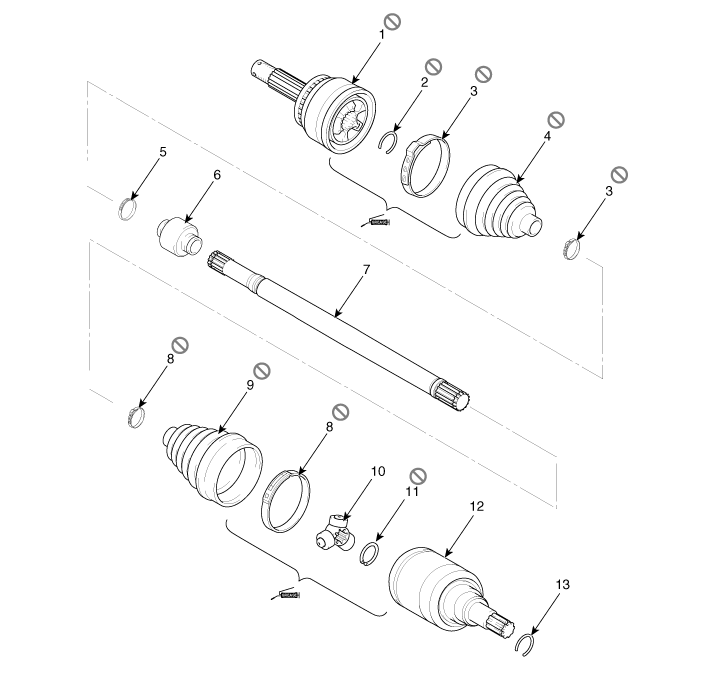
| 1. BJ assembly 2. Clip 3. BJ boot band 4. BJ boot |
5. Dynamic damper band
6. Dynamic damper 7. Shaft 8. TJ boot band |
9. TJ boot
10. Spider assembly 11. Circlip 12. TJ housing |
13. Circlip |
| [LH] |
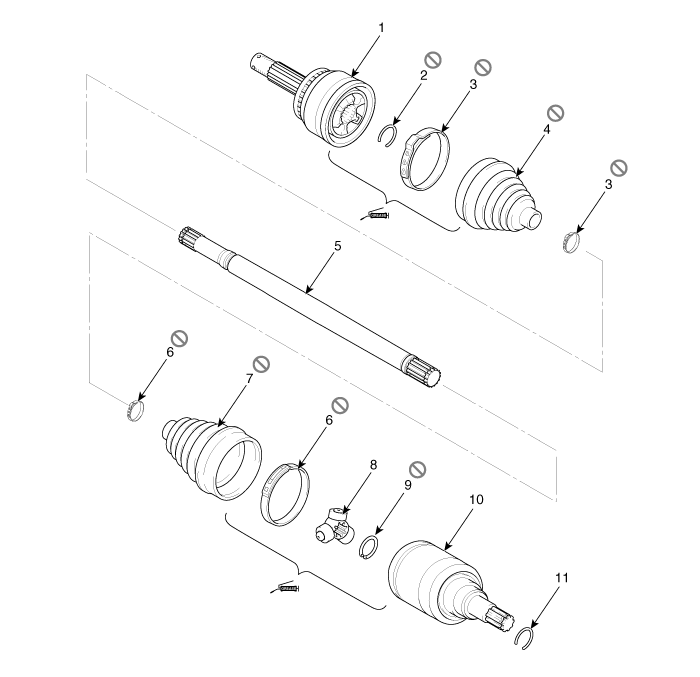
| 1. BJ assembly 2. BJ circlip 3. BJ boot band 4. BJ boot |
5. Shaft 6. TJ boot band 7. TJ boot 8. Spider assembly |
9. Snap
ring 10. TJ case 11. Circlip |
Repair procedures
| Removal |
| 1. |
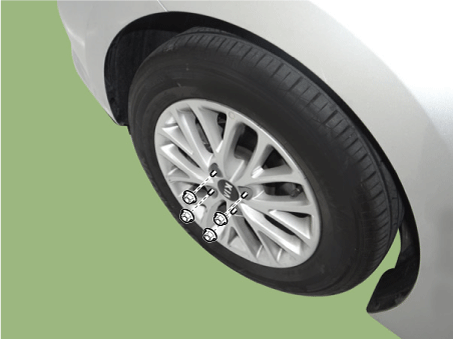
Remove wheel nuts, front wheel and tire from front hub.
|

| 2. |
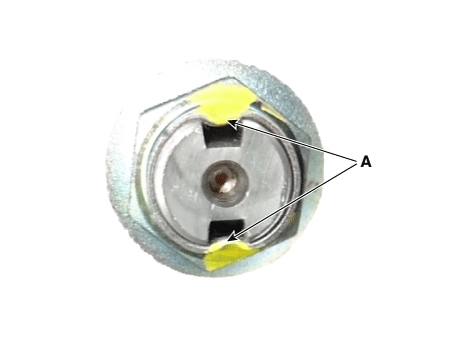
By hammering on a chisel, unlock the driveshaft lock hub nut caulking.
|
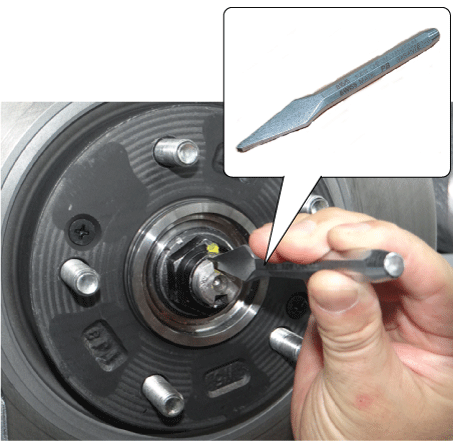

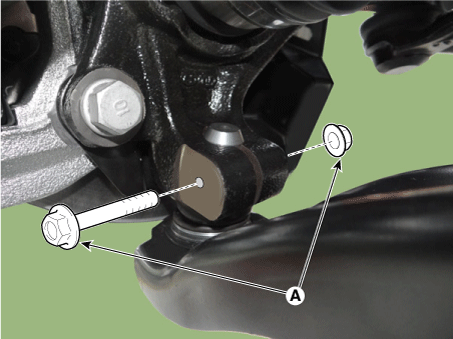
| 3. |
Remove the caulking nut (A) from the front axle.
|

| 4. |
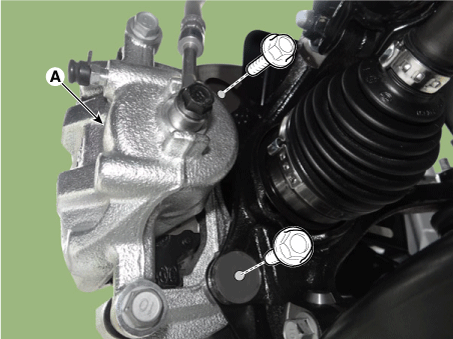
Remove the brake caliper mounting bolts , and then hold the brake caliper assembly (A) with wire.
|
| 5. |
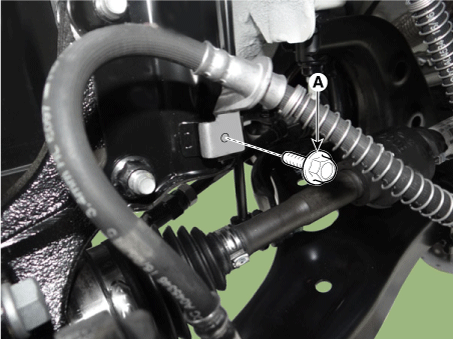
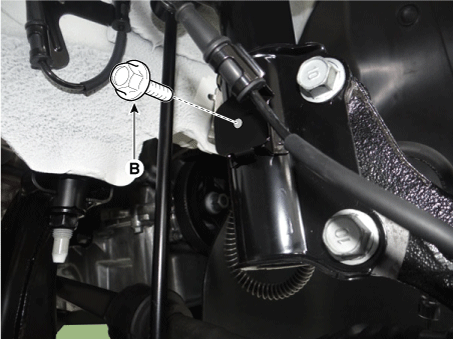
Remove the brake caliper hose bracket bolt (A) and wheel speed sensor bracket bolt (B).
|
| 6. |
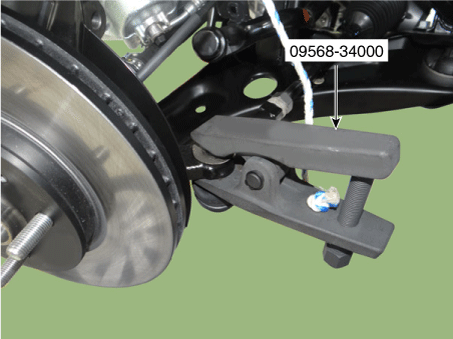
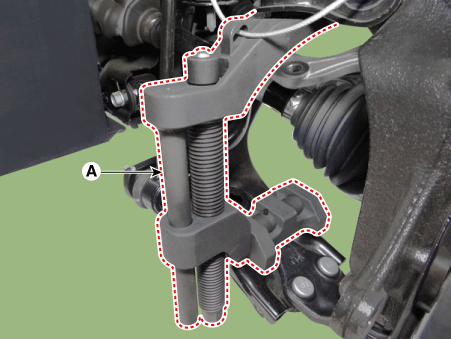
Remove the tie rod end ball joint from the knuckle by using the SST (09568-34000).
|

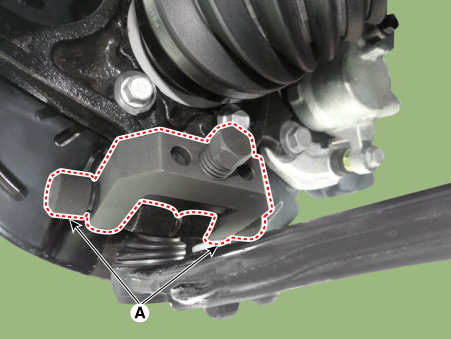
| 7. |
Remove the lower arm bolt and nut (A).
|
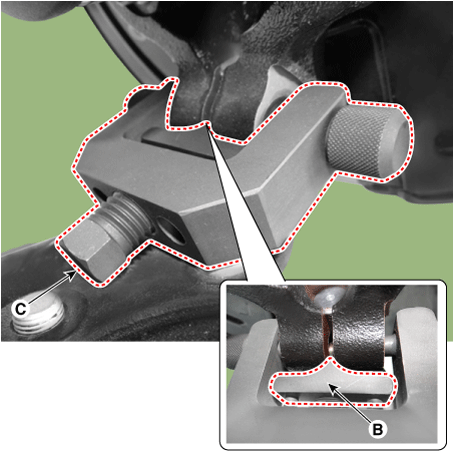
| 8. |
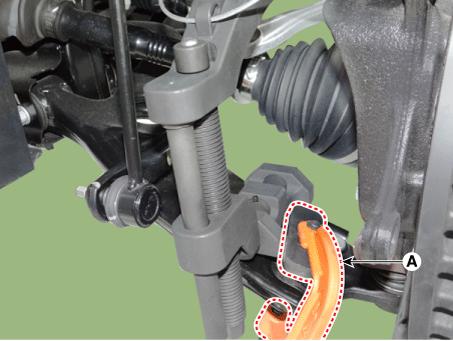
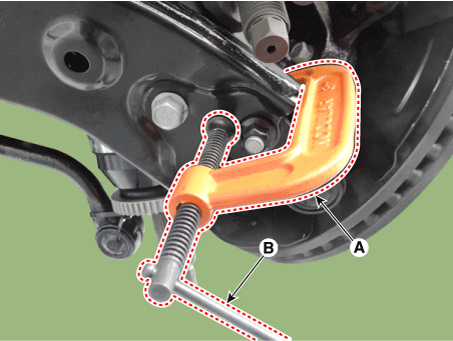
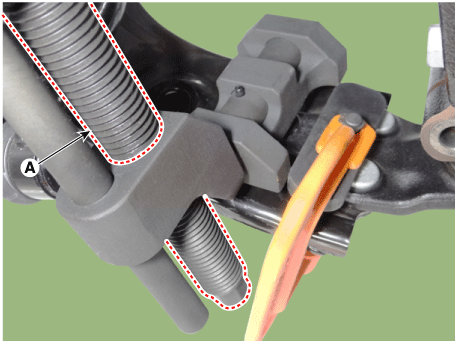
Remove the front lower arm from the front knuckle using the SST (0K545-A9100).
|
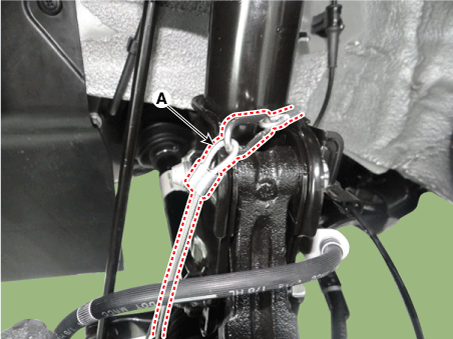
| 9. |
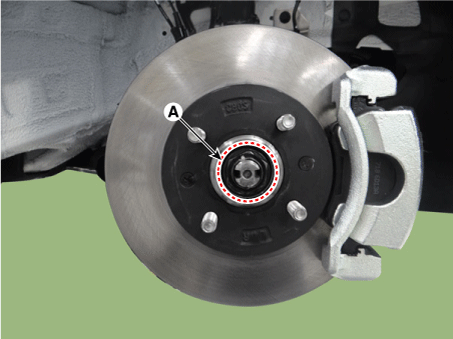
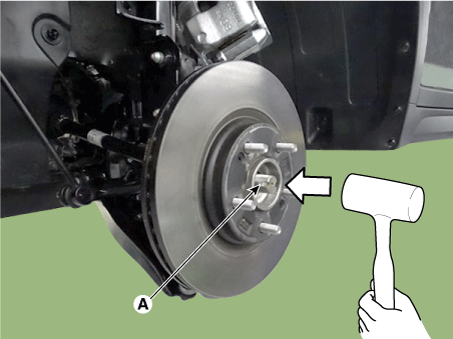
Using a plastic hammer, disconnect driveshaft (A) from the axle hub.
|
| 10. |
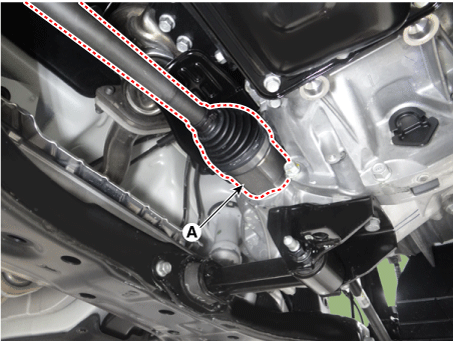
Insert a pry bar between the transaxle case and joint case, and separate the drive shaft (A) from the transaxle case.
|
| 11. |
Install in the reverse order of removal. |

 TJ Joint
Components and components location
Components
[RH]
1. BJ assembly
2. Clip
3. BJ boot band
4. BJ boot
5. Dynamic damper band
6. Dynami ...
Other information:
Kia Rio 2017-2025 YB Service Manual: Smart Key System
Specifications Specifications Smart Key Unit Items Specification Rated voltage DC 12 V Operating voltage DC 9 - 16 V Operating temperature -31 - 167°F (-35 - 75°C) ...
Kia Rio 2017-2025 YB Service Manual: Headlamps
Description and operation Description BI-FUNCTION 1. Definition – A headlamp with integrated functions of high and low beam – The light is controlled by rotating the shield inserted to the le ...
