Kia Rio: Interior Trim / Door Scuff Trim
Components and components location
| Component Location |
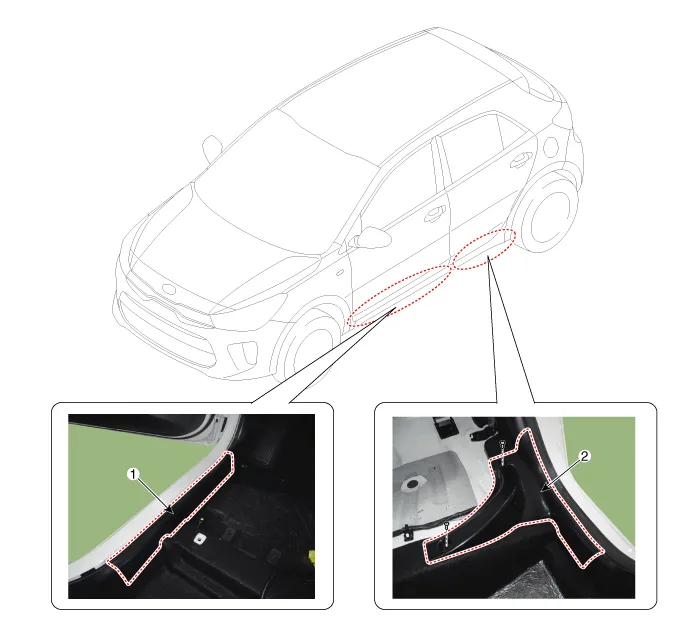
| 1. Front door scuff trim |
2. Rear door scuff trim |
Repair procedures
| Replacement |
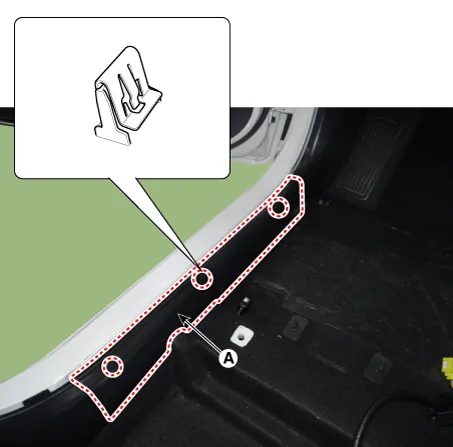
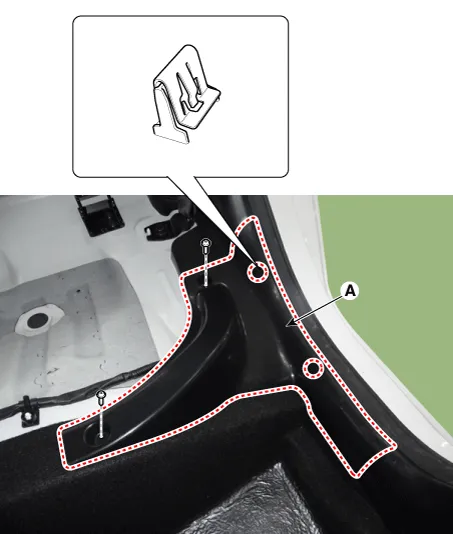
Put on gloves to protect your hands. |

|

| 1. |
Using a remover, remove the front door scuff tirm (A). [Front]
[Rear]
|
| 2. |
Install in the reverse order of removal.
|
Components and components location Components 1. Front pillar trim assembly 2. Front door scuff trim assembly 3. Center pillar upper trim assembly 4.
Components and components location Component Location 1. Cowl side trim Repair procedures Replacement Put on gloves to protect your hands.
Other information:
Kia Rio 2017-2023 YB Service Manual: Multifunction Switch
Specifications Specifications Items Specifications Rated voltage DC 12 V Operating temperature range -22 - 176°F (-30 - 80°C) Rated load Washer Washer : 6A (Motor load) Components and components
Kia Rio 2017-2023 YB Service Manual: Rear Glass Defogger Printed Heater
Repair procedures Inspection • Wrap tin foil around the end of the voltmeter test lead to prevent damaging the heater line. Apply pressure on the tin foil with hand and move the tin foil along the grid line to check for open circ
Categories
- Manuals Home
- Kia Rio Owners Manual
- Kia Rio Service Manual
- Maintenance Schedule
- Heating,Ventilation, Air Conditioning
- Cooling System
- New on site
- Most important about car
