Kia Rio: Rear Door / Rear Door Trim
Components and components location
| Component Location |
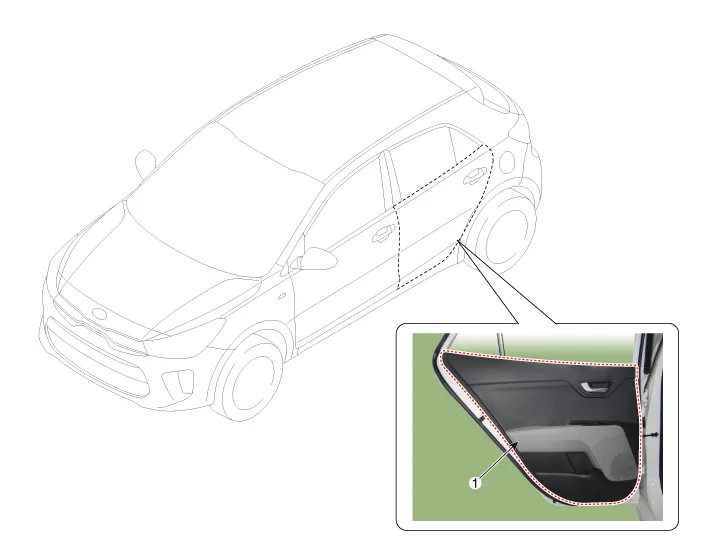
| 1. Rear door trim |
Repair procedures
| Replacement |
Put on gloves to protect your hands. |

|

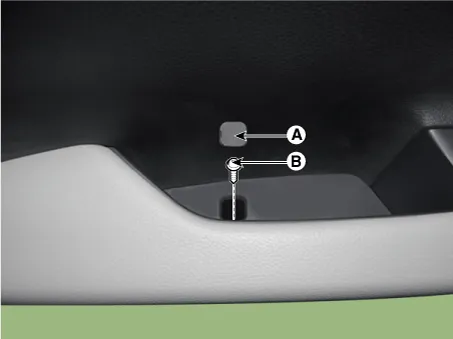
| 1. |
Remove the cap (A) and then loosen the screw (B).
|
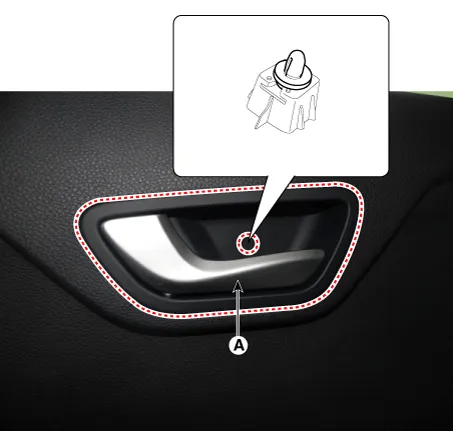
| 2. |
Remove the rear door inside handle cap (A).
|
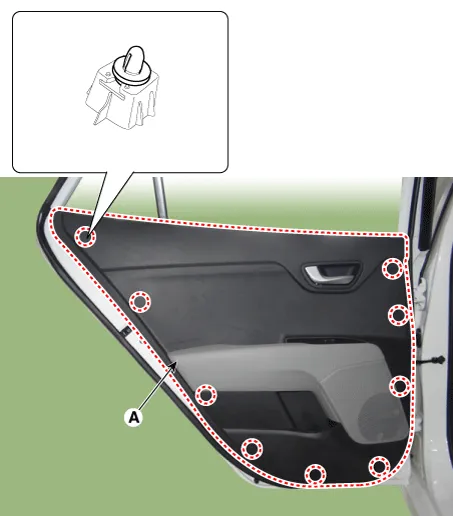
| 3. |
Remove the rear door trim (A).
|
| 4. |
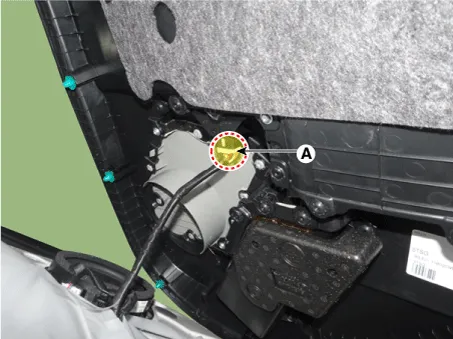
Disconnect the power window switch connector (A).
|
| 5. |
Install in the reverse order of removal.
|
Components and components location Components 1. Rear door trim complete 2. Rear door complete 3. Rear door belt inside weatherstrip 4.
Repair procedures Replacement Put on gloves to protect your hands. • Use a plastic panel removal tool to remove interior trim pieces without marring the surface.
Other information:
Kia Rio 2017-2023 YB Service Manual: Lane Departure Warning System (LDWS) Unit
Components and components location Components Repair procedures Removal When replacing the LDWS switch, check that the symbol mark in the cluster operates normally by pressing the ON/OFF switch.
Kia Rio 2017-2023 YB Service Manual: Rear Glass Defogger Printed Heater
Repair procedures Inspection • Wrap tin foil around the end of the voltmeter test lead to prevent damaging the heater line. Apply pressure on the tin foil with hand and move the tin foil along the grid line to check for open circ
Categories
- Manuals Home
- Kia Rio Owners Manual
- Kia Rio Service Manual
- Filler-Neck Assembly
- General Information
- Brake System
- New on site
- Most important about car
