Kia Rio: Windshield Wiper/Washer / Rain Sensor
Components and components location
Schematic diagrams
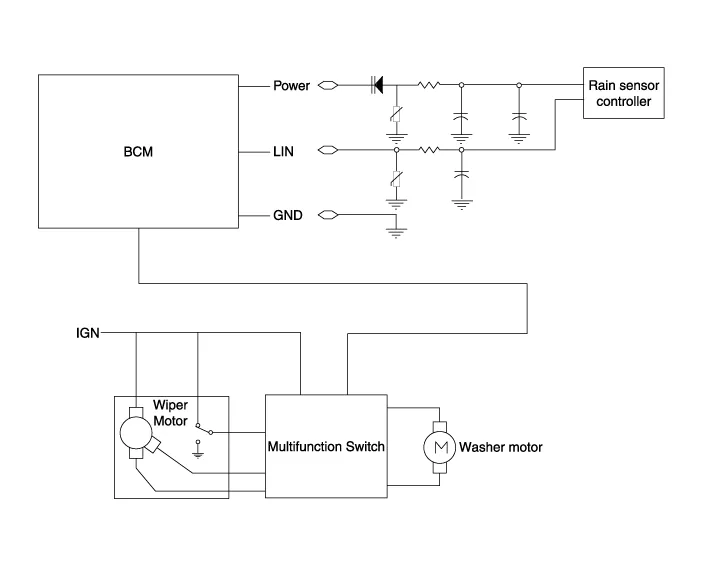
Description and operation
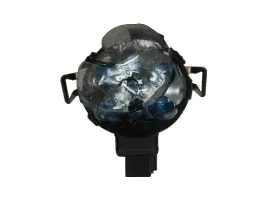
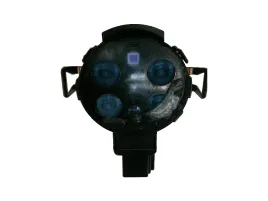
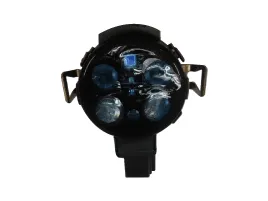
Integrated rain sensor (A) controls three systems: front wiper, auto-light, and
central air conditioner.
| 1. |
Wiper Control System
When the multifunction switch on the right receives "AUTO" switch signal,
the integrated rain sensor detects the amount of rainfall. The sensor is
installed inside the upper part of the front window for wiper motor control.
This system automatically controls the operating duration and speed of
the wipers depending on the measured amount of rainfall even if the driver
does not operate the wiper switch.
|
| Functions and Operating
Principles |
Basic Principle
| 1. |
Detecting the amount of rainfall
The light (beam) emitted from light emitting diodes (LED) is totally
reflected on the external surface of the windshield and comes back to the
photo diodes. When there is water on the external surface of the windshield,
the light is optically separated and reflected partially and the remaining
brightness is measured by the photo diodes. Water remaining on the windshield
results in the light being not totally reflected. The loss of brightness
due to this indicates how much the glass surface is wet.
|
Interference
Rain sensor might malfunction due to the interferences listed below.
| 1. |
Dust on the measuring surface and other surfaces on the light path (surface
of light emitting diodes and photo diodes, fiber optics, bracket, and glass
surface of windshield joint area) weakens the received light.
|
| 2. |
Movement of windshield and bracket
|
| 3. |
Movement of bracket due to vibration
|
|
When the integrated rain sensor does not operate or malfunctions, the
driver should operate the wiper switch manually.
|
Automatic Operation
| 1. |
Operational status of rain sensor
Operation Mode
|
Operation
|
Direct Mode
|
This is the basic operating status when the rain sensor detected
dry windshield with wiper switch in"Auto". In this mode, the integrated
rain sensor determines the operating mode of wipers depending on
the rainfall and its duration.
|
Intermittent Mode
|
Integrated rain sensor activates the intermittent mode when wiper
operation is done successively more than twice with a pause of 0.5
- 5 seconds.
|
Low Speed
|
The wiper operates continuously in low speed
|
High Speed
|
The wiper operates continuously in high speed
|
|
Safety Function
| 1. |
When there is ice or foreign matter in the detecting area, integrated
rain sensor cannot recognize the condition for operation correctly.
|
Detecting Special Conditions
| 1. |
Rain sensor
Special Condition
|
Operation based on special conditions detecting
|
Splash
|
When integrated rain sensor detects a high level of water (splash)
in Direct or Intermittent mode, the system switches from Park to
High speed. Then, wiping is done once in High speed and once more
in Low speed. If the condition of rainfall does not change after
wiping, it returns to the original condition (Direct or Intermittent).
|
Smearing
|
Smearing is a thin oil film that has dried fast and occurs when
a small amount of rainfall is wiped by a dirty or worn-out wiper
blade. Operational signal should not be issued when smearing occurs
in Direct or Intermittent mode.
|
Dirt
|
When no change is detected after wiping, integrated rain sensor
determines that the windshield is dirty. In this state, operational
signal should not be issued. If the windshield becomes clean (for
example, by washer fluid), the integrated rain sensor returns to
the normal condition.
|
Washer fluid
|
Integrated rain sensor does not respond to the washer fluid during
the Washer mode. In other words, wiping speed does not change even
if the washer fluid is sprayed (automatic operation of the washer
pump is not reflected in the functioning of integrated rain sensor).
|
|
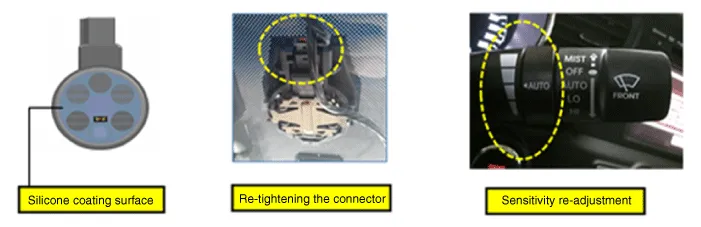
Repair procedures
| • |
Do not damage or touch the silicone (coupling medium).
|
| • |
Be careful so that the silicon is not contaminated by foreign
substances, dust, etc. .
|
| • |
Use caution, as the silicon may be damaged if you try to separate
the rain sensor forcibly.
|
|
| • |
The dust or foreign substance on the rain sensor may have bad
influence on the performanec of the rain sensor. In order to ensure
accurate function of the rain sensor, protect the sensor surface
with the protection cover until the sensor is installed on the bracket.
|
| • |
The coupling pad on the rain sensor surface is adhesive and the
coupling pad may stick to the windshield during the use depending
on the environment condition.
Therefore, it may be damaged when you try to remove the rain
sensor from the windshield forcibly. Use caution when sepearting
it from the windshield.
|
|
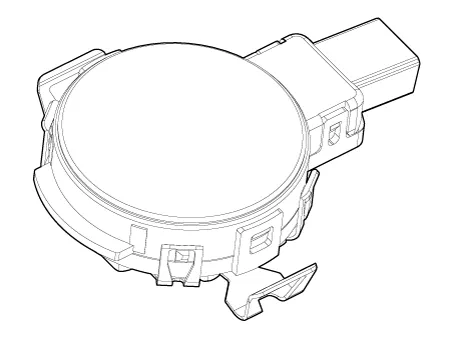
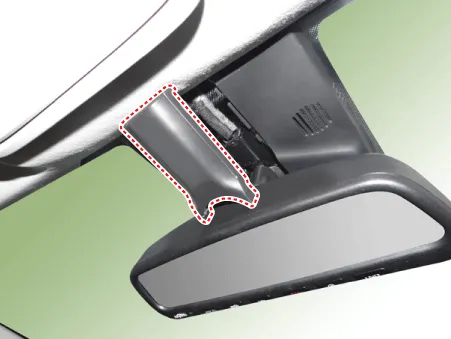
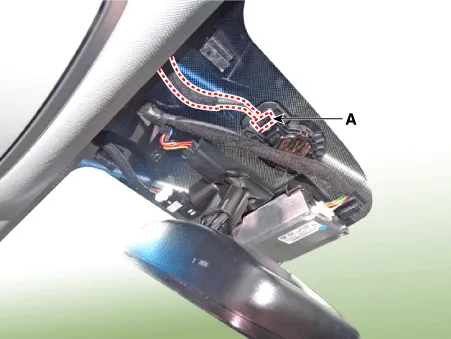
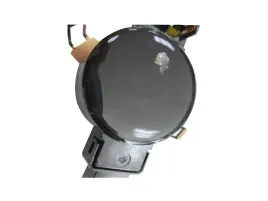
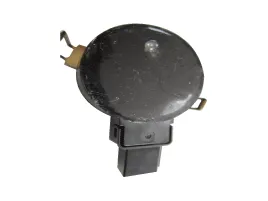
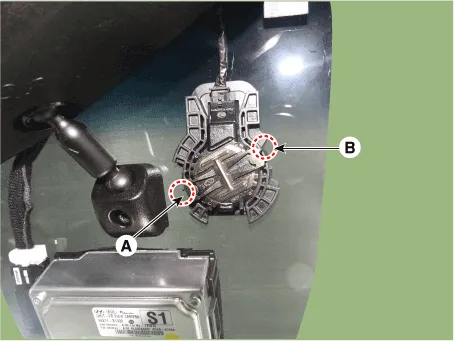
| 1. |
Reomve the mirror wiring cover (A).
|
| 2. |
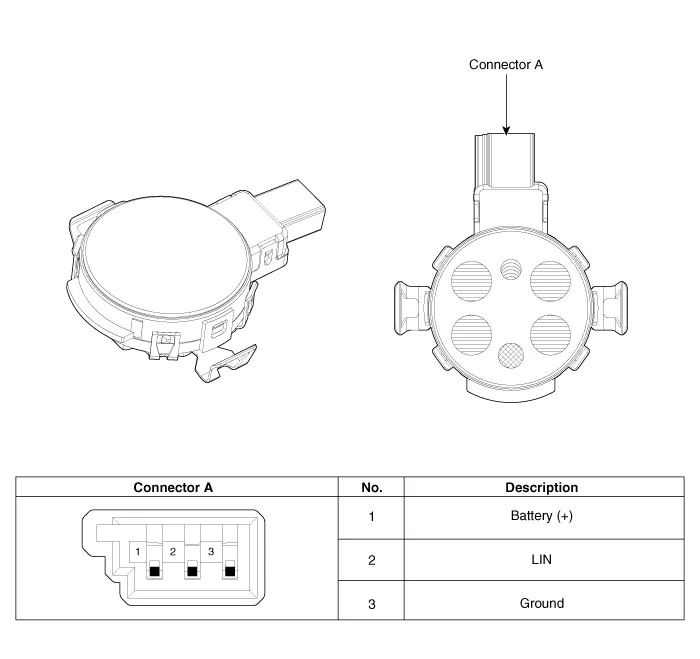
Disconnect the rain sensor connector (A).
|
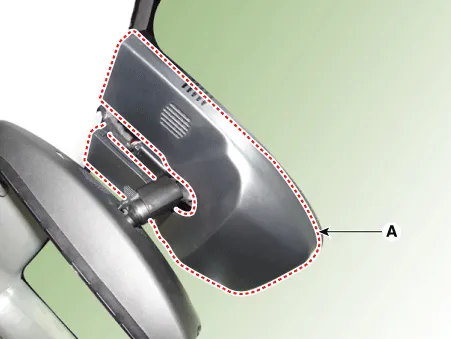
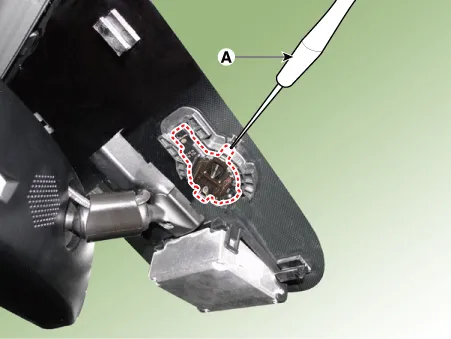
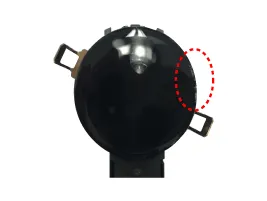
| 3. |
Be careful not to damage the cover latch by applying excessive force.
To remove the latch, pull aside the latch using the cover hole with a small
flat-blade screwdriver (A).
| 1) |
Insert a small flat-blade screwdriver (-) into a space at the
bottom or top, between the rain sensor and bracket. .
|
| 2) |
Pull the rain sensor slowly up and down in the vertical direction
of the glass, then disassemble the rain sensor slowly from windshield
without damaging the silicone on the sensor.
|
| •
|
It may be damaged when you try to remove the rain sensor
from the windshield forcibly. Use caution when sepearting
it from the windshield.
|
| •
|
When detaching the silicone under a high temperature,
it may be easily damaged because of the adhesive strength
of the silicone. Remove the silicone in a cool enviroment.
|
|
|
| 4. |
Rain sensor module is attached to the front windshield by glue. To replace
the front windshield, remove the rain sensor module from the existing front
windshield and install on the new front windshield.
|
| • |
Check the operation of the rain sensor and the light sensor before
mounting.
|
| – |
Check the sensor for silicon damage.
|
| – |
Check whether the rain sensor connector is tightened.
|
| – |
Check whether the rain sensor and bracket are properly tightened.
|
| – |
Check whether the sensor mounted area is free from foreign matters.
|
| – |
Recalibrate sensitivity of the swtich if the auto-wiping operation
is insensitivity or too much sensitive.
|
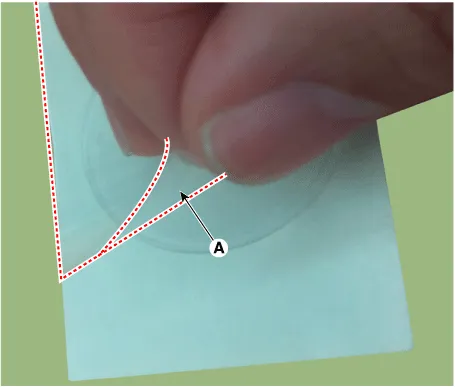
| • |
In case the silicone of the rain sensor is normal or slightly
damaged as shown in the below images, it can be reused.
Normal
|
Damage within 1.5 mm of outer part
|
|
|
|
|
| • |
In case the silicone of the rain sensor is damaged as shown in
the below images, it should be replaced with a new silicone.
Foreign substances
|
Fingerprint
|
Damege
|
|
|
|

|
|
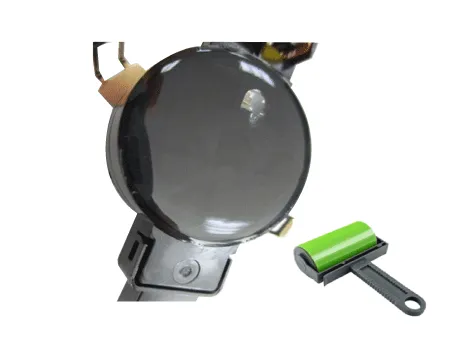
| • |
In case the silicone of the rain sensor is damaged it should
be replaced it as shown below.
1) Remove the damaged silicone gel pad from the lens plate completely.

|
• |
Be careful not to damage or contaminate the surface
of the lens plate during removal.
|
|
2) Attach the new silicone gel pad aftet removing the silicone
paper (A) then remove the transperent film (B).
|
• |
When attaching the silicone gel pad to the sensor,
be careful not to contaminate
|
|
|
| • |
It is very important that the silicon (coupling pad) is completely
pushed against the windshield and stuck without any air bubble.

|
| • |
In case of replacing the damaged windshield, you may reuse the
undamaged exisitng rain sensor.
|
| • |
The windshield glass has to be clean and free of contamination
or foreign substances.
|
|
| 1. |
Connect the rain sensor connector.
|
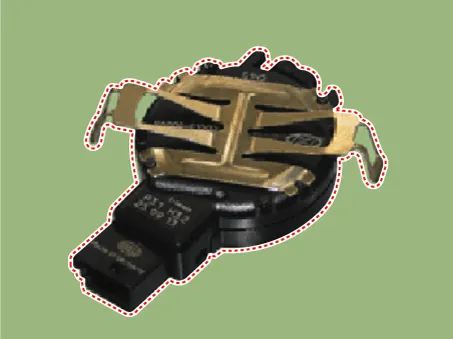
| 2. |
Push one of the latch of spring arm (A) down until it snaps and you hear
a click sound.
And then push the latch of second spring arm (B) for keeping the sensor
in right position.
| •
|
Do not snap both spring arms at the same time.
|
| •
|
An incorrectly mounted snap connection may cause malfunctions
of the rain/light sensor.
|
|
|
| 1. |
Remove the damaged silicone gel pad completely on the lens plate of rain
sensor.
| •
|
The silicone gel must be fully detached from the rain
sensor by rubbing it off with the fingers without any tool.
|
| •
|
The surface of the lens plate must neither be damaged
nor polluted by this activity.
|
|
|
It is recommended to remove any residues from the lens plate
surface with pressurized air.
|
|
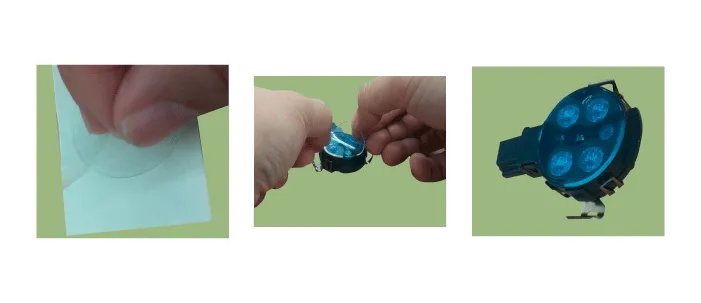
| 2. |
Remove the two protection foils (A) from the gel pad.
|
| 3. |
Attach the silicone gel pad (A) on the lens plate of rain sensor by hand.

|
In case that silicone gel pad of rain sensor is polluted by foreign
substances, remove the foreign substances by using the sticker roller.
|
|
Repair procedures
Inspection
Front Washer Motor
1.
With the washer motor connected to the reservoir tank, fill the reservoir
tank with water.
Specifications
Specification
Air Conditioner
Item
Specification
Compressor
Type
DVE12
Oil type & Capacity
PAG 30, 120 ± 10 g
Displacement
122 cc/rev
Expansion valve
Type
Block type
Refrigerant
Type
R-134a, R-1234yf
Capacity
450 ± 25 g (15.
Other information:
Repair procedures
Removal
1.
Disconnect the negative (-) battery terminal.
2.
Remove the crash pad lower panel.
(Refer to Body - "Crash Pad Lower Panel")
3.
Remove the steering column upper and lower shroud panel.
Components and components location
Component Location
1. Driver power window switch
2. Assist power window switch
3 . Body Comtrol Module (BCM)
4 . Tailgate actuator
5 . Door latch lock actuator
6 .