Kia Rio: Body Electrical System / Electro Chromic Inside Rear View Mirror
Components and components location
| Components |
Description and operation
| Description |
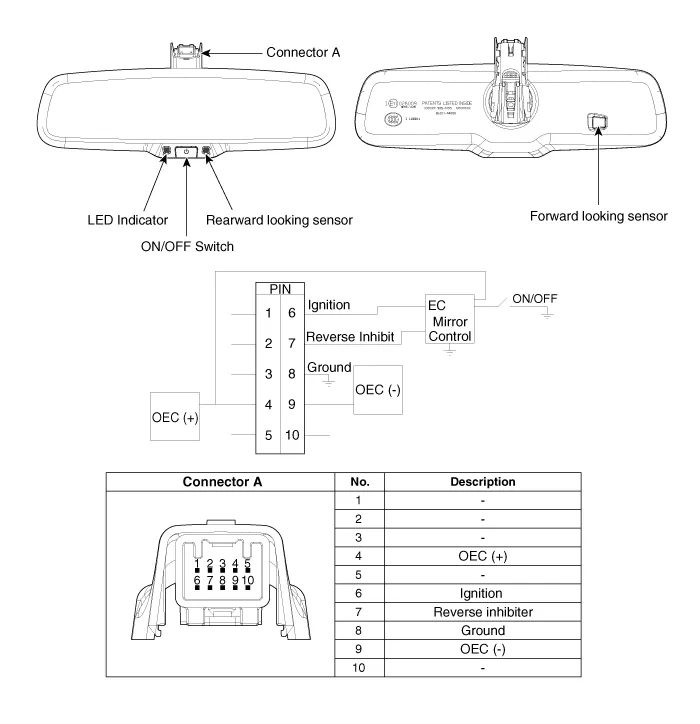
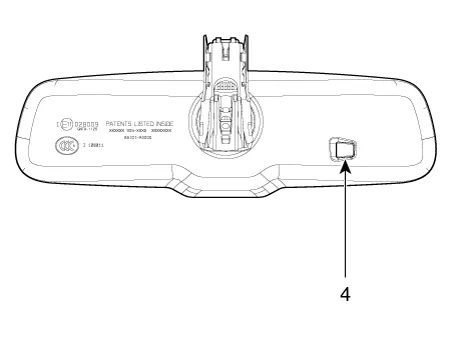
The ECM (Electro Chromatic inside rear view Mirror) is one that automatically dims to protect the driver’s eyes when it senses light reflecting from the car behind. The sensor in the mirror detects the brightness and if the headlight from the car behind is reflected on the mirror, the chemical layer inside the mirror reacts to glare and adjusts the reflectivity from 10 to 70%. When switching to the reverse gear, the mirror becomes bright regardless of the surrounding. The ECM receives voltage, ground and reverse gear signals, and uses two sensors to measure the intensity of glaring.
| 1. |
The forward facing sensor determines whether the surrounding space is dark enough to activate the function. |
| 2. |
The rearward facing sensor detects the glare on the mirror. If the glare is detected, the sensor transmits the signal for the mirror to dim |
| 3. |
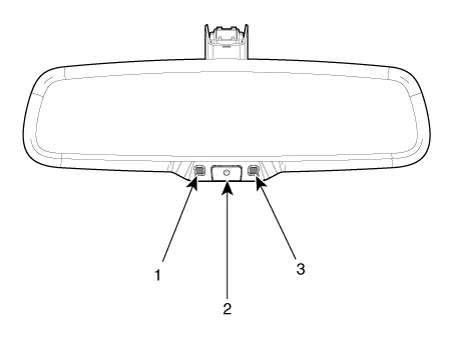
The ECM is darkened to the level as determined by the rearward looking sensor. When the glaring is no longer detected, the mirror stops functioning. (1. LED indicator, 2. ON/OFF Switch, 3. Rearward looking sensor, 4. Forward looking sensor)
|
| Automatic-dimming Function |
To protect your vision during nighttime driving, your mirror will automatically dim upon detecting glare from the vehicles traveling behind you. The auto-dimming function can be controlled by the Dimming ON/OFF Button :
| 1. |
Pressing and holding the Feature Control button for more than 3 but less than 6 seconds turns the auto-dimming function OFF which is indicated by the green Status Indicator LED turning off. |
| 2. |
Pressing and holding the Feature Control button again for more than 3 but less than 6 seconds turns the auto-dimming function ON which is indicated by the green Status Indicator LED turning on.
|

Repair procedures
| Inspection |
Check it by the procedure below to see if the function of the ECM is normal.
| 1. |
Turn the ignition key to the "ON" position. |
| 2. |
Cover the forward facing sensor. |
| 3. |
Head a light to the rearward-facing sensor. |
| 4. |
The ECM shall dim as soon as the rearward-facing sensor detects a certain level of brightness.
|
| 5. |
In the reverse gear, the ECM shall not dim. When directing light to both the forward-facing and rearward-facing sensors, the ECM shall not dim. |
| Removal |
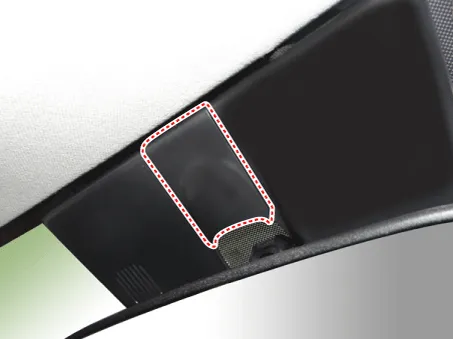
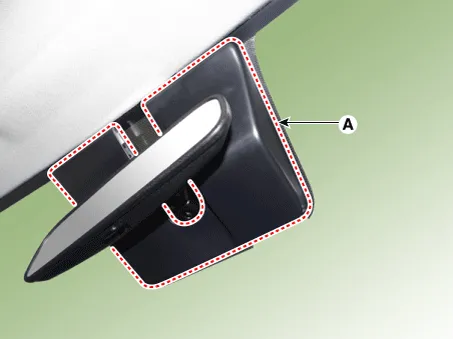
| 1. |
Remove the mirror wiring cover (A).
|
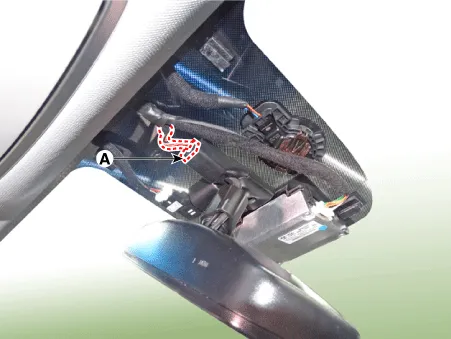
| 2. |
Remove the mirror connector (A).
|
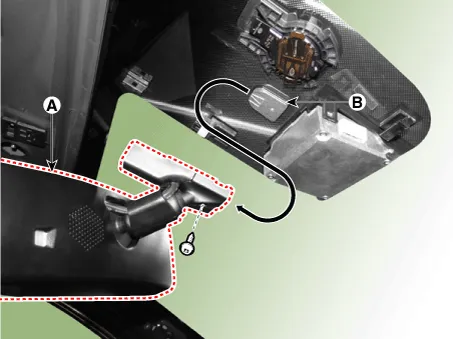
| 3. |
Remove the mirror (A) by pulling up the mirror in the arrow direction below.
|
| Installation |
| 1. |
When installing the mirror, be careful not to damage the mounting bracket. |
| 2. |
Install the mirror wiring cover and rain sensor cover after reconnecting the connector and tightening the screw. |
Components and components location Component Repair procedures Removal 1. Disconnect the negative(-) battery terminal.
Components and components location Component Location [Engine Room] 1. Engine room relay block [Interior Relay] 1.
Other information:
Kia Rio 2017-2023 YB Service Manual: Windshield Wiper-Washer Switch
Repair procedures Removal [BCM Type] 1. Disconnect the negative (-) battery terminal. 2. Remove the steering wheel. (Refer to Steering System - "Steering Wheel") 3.
Kia Rio 2017-2023 YB Service Manual: Ambient Temperature Sensor
Description and operation Description The ambient temperature sensor is located at the front of the condenser and detects ambient air temperature. It is a negative type thermistor; resistance will increase with lower temperature, and decrease with higher temperature.
Categories
- Manuals Home
- Kia Rio Owners Manual
- Kia Rio Service Manual
- Body Electrical System
- Engine Oil and Filter
- Engine Electrical System
- New on site
- Most important about car
